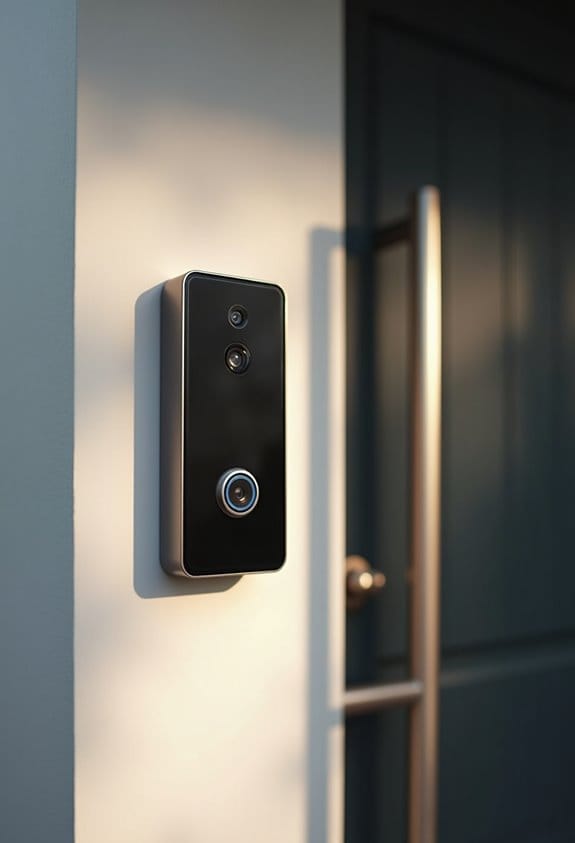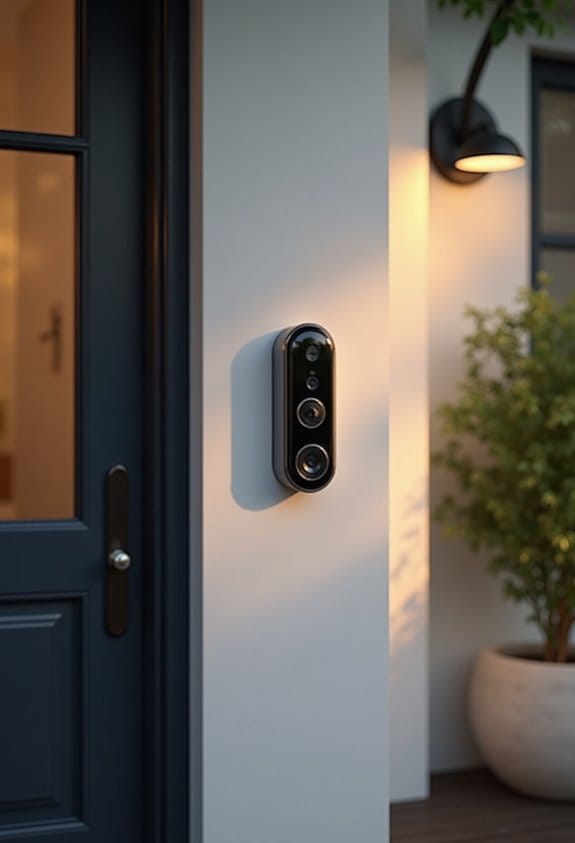
When we set up Privacy Zones on our Ring cameras, we block specific areas from recording, keeping certain spaces private. Each device allows for two zones, which must cover at least 15% of the camera’s view. However, these zones can’t be changed or deleted once set. They don’t stop motion detection in unblocked areas, and issues can arise if cameras move. Understanding these limits helps us effectively secure our privacy, and further insights await below.
Key Takeaways
- Privacy Zones prevent video capture in designated areas, keeping them private from recorded footage.
- Each Ring device allows a maximum of two Privacy Zones, covering at least 15% of the camera’s view.
- Once set, Privacy Zones cannot be modified or deleted, requiring regular reviews for effectiveness.
- Unlike Activity Zones that adjust motion detection, Privacy Zones block recording entirely in specified areas.
- Privacy Zones can be affected by camera movement and may still trigger recordings outside their boundaries.
What Are Privacy Zones and Why Are They Important?

When we think about our privacy, especially at home, it’s vital to recognize the role of Privacy Zones. These are designated areas that we can visually block from view or recording on our security cameras. By ensuring that certain regions remain private during Live View or recorded footage, we create more secure settings. Each Ring device permits us to create up to two Privacy Zones, with a minimum coverage of approximately 15% of the camera’s field of view. It’s important to remember that once we set these zones, we can’t modify or delete them later. Additionally, if we change the camera’s position, we might need to adjust our Privacy Zones to maintain their effectiveness and support neighborly relations. Privacy Zones are often part of customizable activity zones, which help reduce unnecessary alerts while enhancing security.
How to Set Up Privacy Zones in the Ring App

Setting up Privacy Zones in the Ring app is a straightforward process that can markedly enhance your home security. First, we open the Ring app and navigate to the main dashboard. We select the desired camera for setting up Privacy Zones. Next, we tap on the “More” (•••) option at the bottom-right of the device thumbnail to access Device Settings. In Device Settings, we select “Privacy Settings” and then tap “Add Privacy Zones”. We can designate areas that will not be viewed or recorded by adjusting the size and position of the grey box using the black circles. Finally, we tap “Done” to save the new Privacy Zone. To review existing zones, access “Edit Privacy Zones” for modifications or deletions. For optimal privacy and security, consider installing your devices with anti-theft features to prevent unauthorized removal or tampering.
Practical Tips for Configuring Privacy Zones

Configuring Privacy Zones in the Ring app may seem straightforward, but some key considerations can help maximize their effectiveness. First, verify the zones cover at least 15% of the camera’s view to maintain effective non-visibility. We can create up to two distinct Privacy Zones per device, giving us flexibility for tailored privacy management. Utilize the blue corner dots for accurately resizing and positioning these zones to fit specific needs. It’s essential to remember that if the camera’s position changes, the effectiveness of the established Privacy Zones can be affected, requiring adjustments. Finally, note that once established, these zones cannot be retrospectively edited or removed from recordings, so we must configure them carefully from the start. Additionally, regularly review and update privacy settings to control access to recordings and ensure ongoing protection of your data privacy settings.
What Are Common Questions About Privacy Zones?
Although many users have questions about Privacy Zones in the Ring app, understanding their functionality can alleviate common concerns. Privacy Zones allow us to obscure areas in the camera’s view, making them unviewable in both Live View and recorded Video. We can create up to two Privacy Zones, covering at least 15% of the camera’s field of view, which helps maintain privacy for ourselves and our neighbors. It’s important to remember that once we create a Privacy Zone, it can’t be edited; if adjustments are needed, we must delete the existing zone and create a new one. Additionally, we should account for any movement of the device, as this can affect the positioning of our Privacy Zones. Adjusting privacy zones effectively can reduce false alerts caused by unnecessary motion detection.
Understanding the Limitations of Privacy Zones
When we set up Privacy Zones in our Ring cameras, we must recognize their inherent limitations. While Privacy Zones can obscure specific areas from being viewed or recorded, the camera’s movement can affect these zones’ effectiveness. We also need to adjust our motion settings, as motion may still be detected behind these blocked areas, resulting in recordings. It’s important to note that once set, the content within these zones is irretrievable and cannot be modified later. We can create only two Privacy Zones per device, each covering a minimum of 15% of the camera’s view, which may restrict our options. Additionally, these zones don’t prevent the capture of footage in other areas, so thoughtful placement is essential for privacy. Using customizable activity zones can enhance security monitoring while respecting privacy boundaries.
How Privacy Zones Differ From Activity Zones
Understanding how Privacy Zones differ from Activity Zones is essential for effective camera management. Privacy Zones are specific areas where our cameras won’t capture or record video, ensuring these spaces remain private. We can set up to two Privacy Zones per device, and they must not overlap with Activity Zones. Unlike Privacy Zones, Activity Zones allow us to enable or disable motion detection for alert management. Visually, Privacy Zones appear black on camera views, while Activity Zones are shown in grey, making it easy to distinguish between the two. It’s key to remember that while Privacy Zones block visibility, they don’t stop motion detection behind them. Additionally, we can’t modify Privacy Zones once they’re set, whereas Activity Zones can be adjusted. For enhanced monitoring, using AI-powered smart alerts in conjunction with Activity Zones can minimize false notifications and improve security management.
Troubleshooting Privacy Zone Issues
To effectively troubleshoot issues with Privacy Zones, it’s important to first verify that they’re configured correctly in the Ring app. Access the Edit Privacy Zones option to adjust the edges of the zone, ensuring it covers the intended area accurately. Remember, once created, Privacy Zones cannot be directly edited; if changes are needed, we’ll need to delete the existing zone and set up a new one. Additionally, camera movement can impact these zones, so periodic adjustments might be necessary. If Privacy Zones appear ineffective, reviewing Device Settings is essential. Be aware that motion detection can still occur behind blocked areas, which might lead to unexpected recordings even when zones are active, causing further confusion. For optimal monitoring, ensuring your doorbell camera has a wide field of view can help minimize blind spots that affect Privacy Zone effectiveness.
Enhancing Your Privacy Beyond Zones: Additional Features
Managing our privacy isn’t solely about setting up Privacy Zones. We can enhance our privacy through additional features like Motion Zones, which allow us to customize areas that trigger alerts. This customization helps minimize disturbances from unnecessary notifications. We should also consider using scheduled arming to automate our camera’s activity, ensuring it operates during our preferred times. Audio streaming and recording controls are available in the device settings, giving us the power to manage audio monitoring in our environment. Additionally, regularly reviewing and adjusting our Motion Zones can help reduce irrelevant alerts and maintain effective privacy measures. Finally, we must remember to update or delete Privacy Zones as our needs or environments change. Leveraging customizable sensitivity settings can further optimize motion detection to suit individual privacy requirements.
Best Practices for Using Privacy Zones Effectively
While it may seem straightforward, effectively using Privacy Zones requires careful consideration of several best practices that can enhance our overall privacy experience. We should position Privacy Zones away from the center of the camera’s field of view, preventing overlap with key areas. Maintaining a smaller size for these zones helps guarantee peak performance while still covering desired privacy areas. Regularly reviewing and adjusting their placement is essential, especially if we change camera setups or surroundings. It’s vital to avoid overlapping Privacy Zones with motion detection parameters, like IVAN ground zones, to enhance alert accuracy. Finally, we must routinely test and adjust the effectiveness of our Privacy Zones using our Ring device, tailoring settings based on real-world scenarios to minimize unwanted alerts. Additionally, integrating Privacy Zones thoughtfully with dual-zone motion detection technology can further refine motion alerts and reduce false notifications.
Frequently Asked Questions
What Do Privacy Settings Allow You to Do?
Privacy settings allow us to control access to our camera feeds, ensuring our personal spaces remain protected. By adjusting these settings, we can designate areas that won’t be recorded, enhancing our overall privacy.
What Are Privacy Zones on Blink?
Privacy zones on Blink allow us to designate specific areas that the camera won’t record. This Blink functionality enhances our privacy while utilizing the platform’s features to tailor our home security needs.
What Are Zones of Privacy?
Zones of privacy are our privacy boundaries that help protect personal space. They create secure areas in our environments where we can feel safe, ensuring that certain spaces remain untouched by surveillance and outside observation.
What Is the Difference Between Activity Zone and Privacy Zone?
Think of activity zones as vigilant sentinels, ready to alert us to motion, while privacy zones offer a cozy haven, ensuring our privacy protection by keeping certain areas off-camera. Together, they create a balanced monitoring experience.