To install a wired video doorbell safely, we gather tools like a Phillips screwdriver, wire strippers, and a voltage tester. First, we turn off power at the circuit breaker and confirm it’s off. Remove the old doorbell, noting wire connections. Install the new mounting bracket about 4 feet high for maximum visibility. Connect the wires to the new doorbell securely. If issues arise, we’ll explore solutions. Further, let’s enhance settings for clear video capture and guarantee impressive functionality.
Key Takeaways
- Turn off power at the circuit breaker and use a voltage tester to ensure no electricity is running before starting the installation.
- Carefully document existing wiring by taking photos or labeling them for easy reconnection during new doorbell installation.
- Install the new doorbell at an optimal height of 4 feet, ensuring good visibility, and secure it firmly according to installation instructions.
- Restore power and test the doorbell functionality, including camera feed and notification alerts, to confirm a successful setup.
- Perform regular maintenance, like firmware updates and camera lens cleaning, to ensure the doorbell operates effectively over time.
Gather Your Tools for Wired Doorbell Installation

Before we begin the installation of our wired video doorbell, it’s vital to gather the necessary tools. We’ll need a Phillips head screwdriver and wire cutters to handle wires during our installation. Wire strippers are also essential for preparing any exposed wiring, while a voltage tester will help us check for power safely. It’s smart to have a utility knife handy for cutting any additional cables required. If our surface needs it, we’ll require a drill with the appropriate bits and wall anchors to mount the doorbell securely. Don’t forget electrical tape to insulate any exposed wires. Finally, having a level guarantees our doorbell is mounted straight for the best functionality. By preparing these tools, we stay organized and efficient during installation. Also, it is important to enable video feed encryption during setup to safeguard data transmission and enhance security.
Ensure Electrical Safety Before You Start
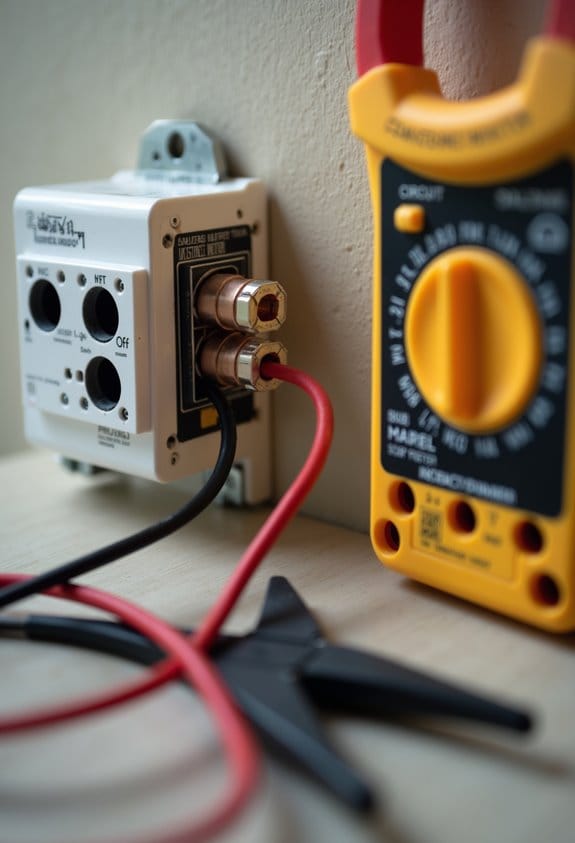
Guaranteeing electrical safety is essential when we start installing a wired video doorbell. First, we must always turn off power at the circuit breaker to prevent any possible shocks. After that, we’ll use a voltage tester to check that there’s no power running to the existing doorbell wiring. It’s vital to know the layout of our electrical panel so we can quickly locate the correct breaker. While we work, let’s wear rubber-soled shoes and avoid wet surfaces to further reduce risks. If we’re unclear about any step or the compatibility of our power supply with the video doorbell, consulting a licensed electrician is a wise option. Safety first guarantees a successful installation for everyone involved. Additionally, choosing a transformer with proper voltage compatibility that matches your doorbell’s specifications is crucial for safe and reliable operation.
Remove the Old Wired Doorbell and Document Wiring

To successfully remove the old wired doorbell and document the wiring, we should start by ensuring that the power is indeed off at the circuit breaker. We’ll then gently unscrew the push button from the wall using a Phillips screwdriver. Next, we can disconnect the wires from the terminals, taking care not to damage them. It’s essential to document the wiring; we might consider taking a photo or labeling each wire for easy reference later. Moving to the chime, we should unscrew its outer plate and mark terminal connections before disconnecting the wires. Finally, we locate the transformer, unscrew it from the junction box, and disconnect the terminal wires securely before removing it to complete the process. Installing a wireless doorbell extender afterwards can help maximize coverage and improve your new doorbell’s alert range.
Install the New Doorbell Mounting Bracket
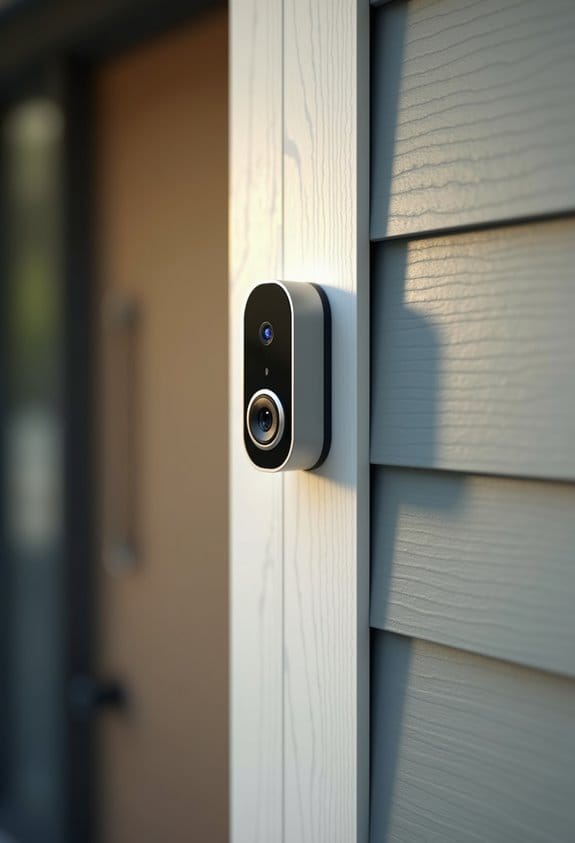
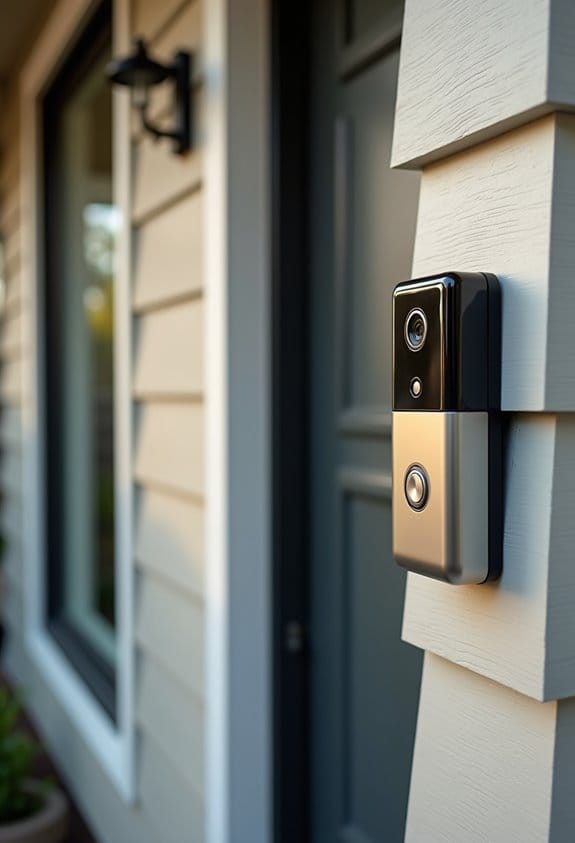
With the old doorbell successfully removed, we can now focus on installing the new doorbell mounting bracket. First, we should select an installation area at about 4 feet from the ground for ideal camera visibility. After marking the spot, we’ll use a level to guarantee it’s straight, preventing performance issues. For masonry surfaces, we’ll drill pilot holes and use wall anchors to secure the bracket. If we’re working with wood or siding, we’ll align the screw holes from the bracket with the wall and secure it using the provided wood screws. Finally, it’s important to manage any excess wiring neatly to guarantee a clean look before moving on to the next steps. Be sure the bracket installation site allows for the optimal field of view to eliminate blind spots and maximize security coverage.
Connect Wires Securely to Your New Doorbell
Before we connect the wires to our new doorbell, it’s essential that we verify the power is off at the circuit breaker. We’ll identify the existing wires, usually labeled “front” and “trans.” Confirm these wires aren’t frayed or damaged. Next, we’ll securely attach each wire to the corresponding terminal screws of the doorbell by wrapping the wire under the screw. Be sure to tighten it firmly to avoid loose connections. If the wires are too short, we can use the provided extension cables. After we connect the doorbell, we should double-check all connections. If necessary, we’ll insulate the connections with electrical tape to prevent exposed wiring before we restore power to the system. For optimal safety and performance, ensure your transformer has an appropriate power rating that matches your doorbell’s specifications.
Testing Your Doorbell After Installation
After securing the wires and guaranteeing everything is insulated, we can now test the doorbell to confirm it’s working properly. First, restore power to the breaker and press the doorbell’s push button; you should hear a chime sound. Next, let’s check the live video feed through the app to verify it captures the area you want to monitor. We’ll also test the app notifications: ring the doorbell and ascertain alerts arrive on our smartphones. Observe the doorbell’s LED; it should show a solid blue light if functioning correctly. Finally, we should inspect all connections and confirm that the wiring is secure and tucked away neatly to prevent any issues in the future. Ensuring the transformer has UL certification is crucial to maintain electrical safety throughout this process.
How to Fix Common Installation Issues?
When we encounter issues during the installation of our wired video doorbell, it’s essential to approach these problems methodically. First, make certain the circuit breaker is off to prevent accidents. If our doorbell isn’t getting power, we should double-check that the doorbell wires are securely connected to the terminal screws, and we can use a multimeter to verify voltage continuity. If the doorbell chime doesn’t sound, let’s confirm that the chime kit is correctly installed and wired. For Wi-Fi issues, reposition the doorbell closer to the router or install a Wi-Fi extender. Finally, if the camera image quality is poor, we may need to adjust the angle during installation for a clearer view without obstructions. Additionally, ensuring a stable Wi-Fi connection is crucial for smooth video streaming and timely notifications.
How to Tweak Your Doorbell Settings in the App?
Having resolved any installation issues with our wired video doorbell, we can now focus on optimizing its performance through the app. First, let’s open the Ring app and navigate to the settings menu. Here, we can customize notifications for alerts and sounds, which helps guarantee we’re not overwhelmed by unnecessary updates. Next, we should adjust motion sensitivity to capture only relevant activity by setting up motion zones around our front door. This minimizes false alerts from passing traffic. Additionally, enable the two-way audio feature for direct communication with visitors, even when we’re away. Finally, don’t forget to check for software updates regularly; they provide important security enhancements and new features for our doorbell installation. Utilizing customizable motion zones significantly improves monitoring accuracy and reduces false alarms.
Best Practices for Placing Your Doorbell for Maximum Visibility
To guarantee we capture clear footage of visitors and deliveries, we must consider where to place our wired video doorbell carefully. We should install our doorbell at a height of approximately 1.2 meters (4 feet) from the ground to achieve ideal camera angles for capturing faces. For balanced visibility, centering the doorbell above double doors or main entryways is essential. In high-traffic areas, a height between 2.4 to 3 meters (8 to 10 feet) with a downward tilt may improve monitoring. Additionally, placing the doorbell in well-lit areas guarantees effective video capture, both day and night. During installation, adjusting the mounting plate and viewing angle using live view capabilities helps us cover important entry points efficiently. Ensuring your doorbell supports night vision capabilities enhances visibility and security during low-light conditions.
Maintenance and Future Options for Your Wired Doorbell
Caring for our wired video doorbell is important for guaranteeing its reliability and performance over time. Regular maintenance is key. We should clean the camera lens with a soft cloth to maintain ideal video quality, especially after dust storms or rain. Monthly inspections of the mounting hardware help us spot any looseness or rust, keeping the doorbell securely in place. We must also check that the transformer, supplying 8-24VAC, functions correctly. Updating the firmware through the app guarantees we access new features and essential security patches. Finally, considering integration with smart home systems can enhance our home’s surveillance capabilities, providing additional security and a more seamless experience. Regular checks keep our doorbell functioning well for years. Additionally, adjusting motion sensitivity settings can optimize detection accuracy and reduce false alerts, improving overall performance.
Frequently Asked Questions
How to Set up a Wired Video Doorbell?
To set up our wired video doorbell, we’ll check the wiring diagram, verify our power source is safe, select a good mounting location, and explore doorbell features like camera quality and connectivity options with installation tools.
Does It Matter Which Wire Goes Where on a Ring Doorbell?
It doesn’t matter which wire connects where on a Ring doorbell; they’re interchangeable. However, we should always guarantee compatibility, meet voltage requirements, and follow installation tips to avoid polarity issues and guarantee safety precautions.
Do You Need an Electrician to Install a Wired Doorbell?
We might not need an electrician for DIY installation of a wired doorbell, but ensuring electrical safety is essential. Let’s consider voltage requirements and tools needed, plus remember troubleshooting tips for any wiring challenges we encounter.
What Is Needed for a Wired Doorbell?
A stitch in time saves nine! For our wired doorbell, we’ll need a wiring diagram, a doorbell transformer with compatible voltage, installation tools, and solid mounting options to guarantee great video quality and connection.