When installing mounting plates on uneven surfaces, we must prioritize leveling for stability and longevity. First, we should assess the site using a level and measuring tape to identify any bumps or dips. For minor unevenness, placing shims helps; for larger discrepancies, consider grinding high spots. Opt for thick steel plates with pre-drilled holes for easy alignment. Don’t forget to fill gaps with non-shrink grout for added stability. There’s more essential guidance on ensuring proper installation.
Key Takeaways
- Evaluate the installation area for bumps or dips and measure discrepancies with a level and measuring tape.
- Use shims to adjust the low side, or plywood for larger surface irregularities.
- Choose a mounting plate with adequate thickness, integrated leveling options, and pre-drilled holes for easy alignment.
- Regularly check the plate’s evenness with a level and adjust heights using shims or spacers as needed.
- Apply non-shrink grout around the base to fill gaps, ensuring stability and enhancing longevity.
Understanding the Importance of Leveling for Bollard Installations
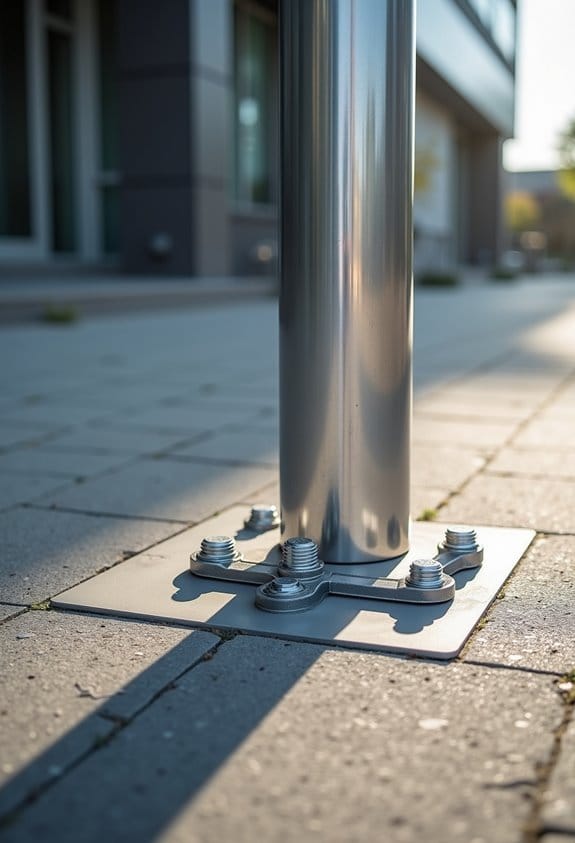
When we install bollards, confirming they are level is essential to their long-term effectiveness and safety. Proper leveling prevents leaning or crooked installations, which can compromise the bollard’s structural integrity. If we’re working on uneven surfaces, it’s a good idea to employ shimming for low sides or grind down the high sides. This way, we confirm our bollards stand vertically, reducing stress on internal mounting systems and extending their lifespan. Aesthetically, straight lines improve visibility and project cleanliness, which helps with traffic management. We should also consider using non-shrink grout around the base for stability; this manages water runoff effectively, especially on slopes. Overall, attention to leveling guarantees both safety and functionality in our installations. Additionally, using high-quality metal or durable materials is crucial to ensure longevity and robustness in outdoor mounting environments.
Assessing Site Conditions Before Installation
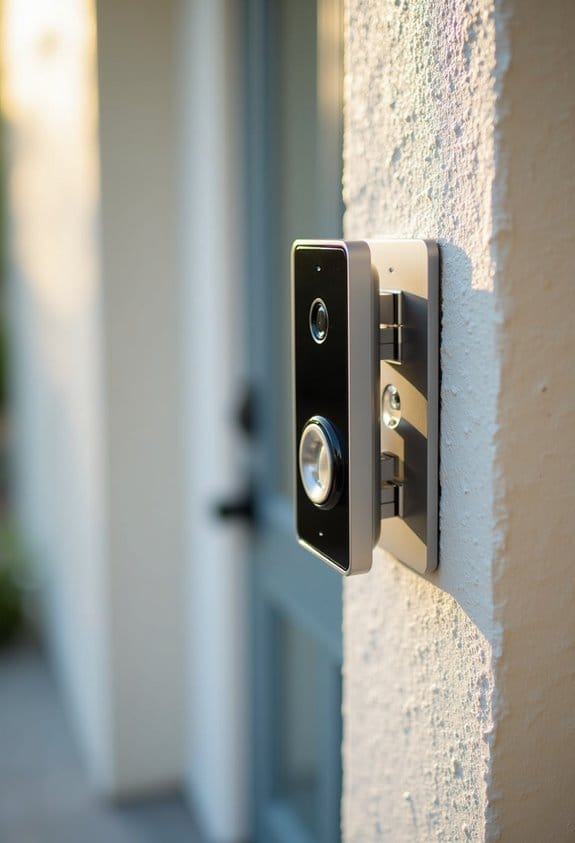
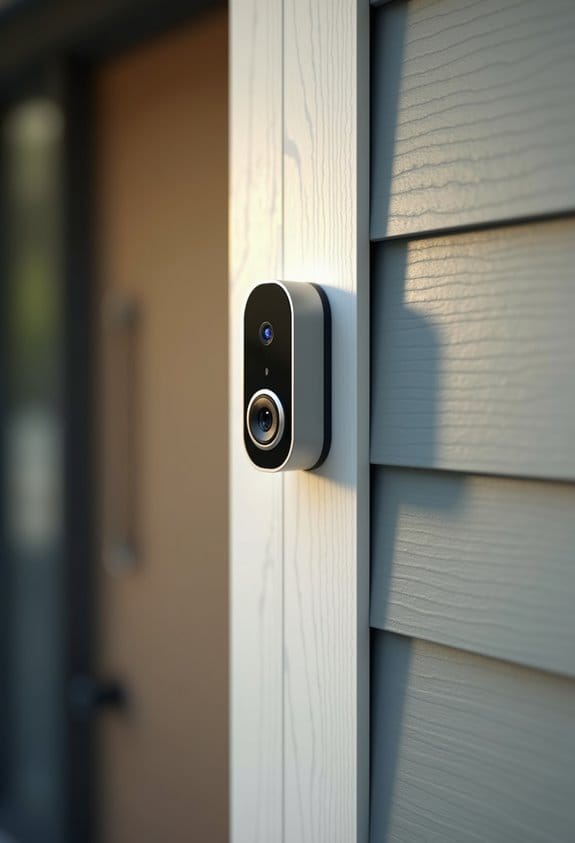
Evaluating site conditions is an essential step that follows our work on leveling bollards. First, we should carefully examine the installation area for bumps, dips, or other irregularities. This helps us determine the degree of unevenness present on the surface. Make sure to use a level to measure how uneven the surface is accurately. Using a measuring tape, we can quantify the size of any uneven areas, which will guide our decisions on shimming or adjusting the mounts. For minor unevenness, we can often compensate during installation by strategically placing shims. However, if we detect significant unevenness, we may need additional materials, like plywood, to create a stable base for our mounts. It is also critical to consider door thickness since most mounts are designed to fit doors within a certain thickness range for secure installation.
How to Choose the Best Mounting Plate for Uneven Surfaces
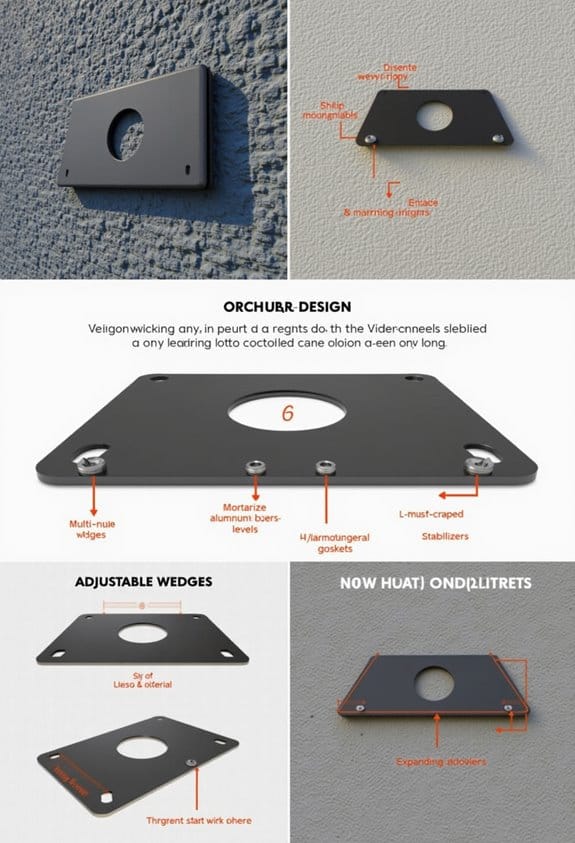
Selecting the right mounting plate for uneven surfaces can greatly impact the stability and performance of your installation. We should prioritize a mounting plate with adequate thickness and material strength, like steel, to prevent bending. Opt for plates with pre-drilled holes for easy alignment, accommodating surface discrepancies. Integrated leveling options, such as adjustable feet or shims, will help us achieve precise leveling, no matter the base conditions. Additionally, a larger mounting plate can distribute weight evenly, reducing pressure points. We must guarantee the plate is compatible with our mounting studs and hardware, preferably a standard thread size, which simplifies installation, ultimately enhancing our assembly efficiency. By following these guidelines, we can tackle uneven surfaces effectively. It is also important to consider safety features in mounting solutions to ensure reliable and secure installations over time.
Essential Tools for Mounting Plate Installation
To guarantee a successful installation of mounting plates, having the right tools on hand is essential. First, we need basic hand tools like wrenches, screwdrivers, and pliers. A measuring tape will help us assess uneven surfaces and make necessary adjustments. Specifically, a level is vital to confirm the mounting plate is even. For certain installations, shims and spacers can be employed to elevate areas requiring height adjustments. Additionally, a torque wrench guarantees fasteners are tightened to specifications, preventing over-tightening. Finally, don’t forget to wear safety gear like gloves and goggles, which shield us from sharp tools and components. Having these tools will help us tackle installation challenges more effectively. Using tools made from durable materials like S2 steel can ensure longevity and reliability during installation.
How to Shim the Low Side of Bollards Effectively
When installing bollards, many of us will encounter uneven surfaces that necessitate shimming, particularly on the low side. First, let’s measure the height difference using a level; this tells us how thick our shim needs to be. We recommend using high-quality wood or composite shims for durability and stability. Carefully insert the shim beneath the bollard’s base, making sure it fits snugly to avoid any shifting. Afterward, fill gaps around the base with non-shrink grout. This step not only boosts stability but also prevents water infiltration. Finally, it’s wise to regularly check the level of the bollard post-installation; adjust the shim as needed for ongoing stability. Choosing materials with good durability and stability ensures a longer-lasting installation. These steps will help guarantee a solid and level installation.
How to Smooth High Sides With Grinding
After confirming the low side of your bollards is properly shimmed, you may still need to address the high sides of an uneven surface. Grinding can effectively smooth these areas, allowing for a more level installation of your mounting plates. We recommend using a professional-grade grinder to guarantee precision. Always wear protective eyewear and a dust mask to guard against debris and harmful particles.
Once you’ve finished grinding, check your work with a level to confirm that the surface is now flat enough for ideal plate alignment. Regularly inspect the surface post-installation to avoid settling issues that could compromise the stability of your mounts. A well-finished surface makes future adjustments simpler and more effective. Ensuring a consistent power supply is also crucial for the long-term functionality of mounted electronic devices.
Using Non-Shrink Grout for Secure Mounting
Using non-shrink grout is a reliable method for securing mounting plates, especially on uneven surfaces. This type of grout efficiently fills gaps around the base while maintaining its volume after curing, which prevents shrinkage. By choosing non-shrink grout, we enhance durability and resist moisture penetration, reducing rust risks in hollow structures. Proper application stabilizes the mounting plate and promotes better load distribution, vital for long-lasting installations. It’s important to allow the designated curing time according to environmental conditions to guarantee a solid bond. After installation, regular inspections of the grout can help us identify any premature wear or gaps, allowing us to perform timely maintenance and reinforce the mounting plate as needed. Additionally, selecting materials with UV-resistant designs helps ensure that outdoor installations can withstand varied environmental conditions over time.
How to Avoid Soil Erosion With Mounting Plates
Securing mounting plates is an important step, but we must also consider the soil erosion that can occur around them. To prevent soil erosion, we should install plates on a slight slope, directing water away from the base. Adding a layer of gravel or crushed stone underneath enhances drainage, reducing erosion risks during heavy rainfall.
Installing erosion control blankets or mats stabilizes soil, minimizing erosion near our mounting plates. Additionally, maintaining robust vegetation is vital; deep-rooted plants anchor the soil, further preventing erosion. If needed, using retaining walls can effectively redirect water flow and protect the surrounding soil. By following these steps, we can guarantee our mounting plates remain secure without compromising the integrity of the soil around them.
Also, using mounting plates made from weather-resistant materials ensures durability even in harsh outdoor conditions.
How to Check Your Leveling After Installation?
Checking the leveling of your mounting plate post-installation is essential for guaranteeing stability and functionality. First, we should use a level tool to verify the alignment both vertically and horizontally. This guarantees it’s perfectly flat and not tilted. Next, measure from the ground to various points on the plate to check that all corners are at a consistent height. A visual inspection around the edges helps confirm that the plate sits flush against the surface without any gaps. Finally, after confirming level, we can apply light pressure to different areas of the plate. This step checks for stability, guaranteeing it doesn’t rock or wobble. Keeping a digital level handy can help us make any immediate adjustments if needed. Additionally, ensuring your mounting surface is compatible with the door thickness range can prevent future alignment issues.
Maintaining Bollard Installations for Long-Term Stability
While we grasp that installing bollards can sometimes be challenging, maintaining them for long-term stability is essential to confirm safety and functionality. First, we should regularly inspect bollards for plumb alignment, as any lean can affect structural integrity. Using non-shrink grout around the base secures bollards, filling gaps and enhancing stability while keeping moisture out. Next, we’ll implement periodic maintenance checks to confirm the surrounding area remains stable, addressing any vegetation that could obstruct visibility. Documenting installation routines aids in future maintenance and adjustments, confirming alignment remains precise. Finally, applying proper drainage solutions around bollard bases prevents standing water, reducing rust risk and extending lifespan. Additionally, choosing durable materials designed to withstand elements like moisture and rust can further extend bollard longevity. Taking these steps will help us maintain safe and functional installations.
Frequently Asked Questions
What Types of Surfaces Can Mounting Plates Be Used On?
Mounting plates can be used on various surfaces like drywall, concrete, wood, and metal. Each material presents different installation challenges, so we need to guarantee surface compatibility for the best results in our projects.
Can I Install Bollards Without Professional Help?
Absolutely, we can install bollards ourselves! With the right DIY installation tips, sturdy tools, and safety precautions in place, we’re ready to tackle this challenge—just like our ancestors did with their obstacles back in the day.
How Do I Know if My Mounting Plate Is Damaged?
We can tell if our mounting plate is damaged by performing a visual inspection. Look for signs like rust, cracks, or bending; these are replacement indicators that can affect the mounting plate’s longevity.
Are There Alternatives to Grinding High Sides of Concrete?
“Where there’s a will, there’s a way.” We can use screed leveling techniques, foam pads, or shim adjustments to avoid grinding down concrete’s high sides while ensuring our installs remain level and secure.
Is It Necessary to Use Non-Shrink Grout for Every Installation?
We don’t think it’s necessary to use non-shrink grout for every installation. However, considering grout benefits, specific installation scenarios, and cost considerations can help us decide when it’s the right choice for our projects.