To fix blurry video, we should first check for a dirty lens, as grime can greatly affect clarity. We need to clean it using a microfiber cloth and lens-safe cleaner. Next, let’s check for condensation, especially in humid weather; using silica packets can help. Adjusting focus settings and minimizing glare by positioning cameras away from light sources are essential as well. If these steps don’t resolve the issue, we can explore further solutions.
Key Takeaways
- Regularly clean the camera lens with a microfiber cloth and lens-safe cleaner to eliminate dirt and smudges affecting video clarity.
- Monitor and manage condensation by acclimating the camera to dry environments and using silica packets to absorb excess moisture.
- Adjust focus settings, utilizing mobile apps for real-time calibrations, particularly after heavy rainfall for enhanced video sharpness.
- Minimize glare by positioning cameras away from direct light sources and using hoods or anti-reflective coatings for better image quality.
- Test and adjust camera angles and settings, including white balance, to ensure optimal coverage and clarity in footage.
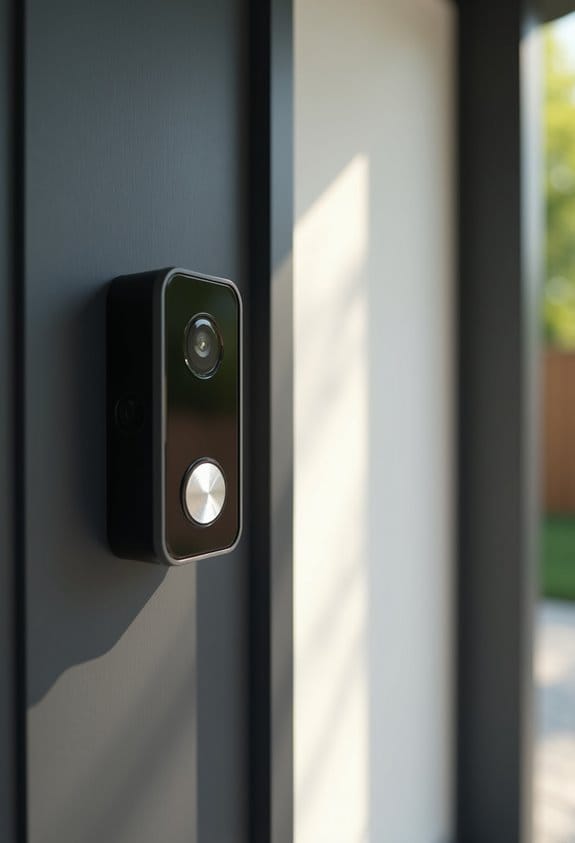
How to Fix Blurry Security Camera Footage
Have you ever wondered why your security camera footage looks blurry? One common reason is a dirty lens, which we can easily fix. To clean it, use a microfiber cloth and a lens-safe cleaner. Regular maintenance is essential for ideal video quality. We should also check for condensation inside the camera; this may indicate a seal issue. If we find moisture, bring the camera indoors to let it acclimate, clearing internal fog.
Additionally, adjusting the focus and zoom settings on varifocal lenses every quarter can clear images. It’s vital to enhance white balance and color settings, especially in different lighting. By taking these proactive steps, we can greatly improve our security footage and reduce frustrating blurriness. Checking the video resolution settings and ensuring they are set to 1080p or higher can also significantly enhance image clarity.
Identifying a Dirty Camera Lens
A dirty camera lens is often the culprit behind blurry video footage. Dust, fingerprints, or water spots can accumulate, affecting image quality. We must regularly inspect our lens for these issues and perform lens cleaning as needed. Using a soft microfiber cloth along with a lens-safe cleaner or diluted isopropyl alcohol, we can effectively remove grime without scratching the lens coating. It’s wise to schedule quarterly cleanings and check for moisture buildup after rainfall, as this can impact infrared (IR) functionality in our security solutions. Neglecting this maintenance can lead to a significant 82% increase in hardware failure rates, demonstrating the importance of keeping our camera lenses clear for peak performance. Ensuring proper lens care also helps maintain the night vision capabilities that are essential for reliable monitoring in low light conditions.
Dealing With Condensation in Your Outdoor Cameras
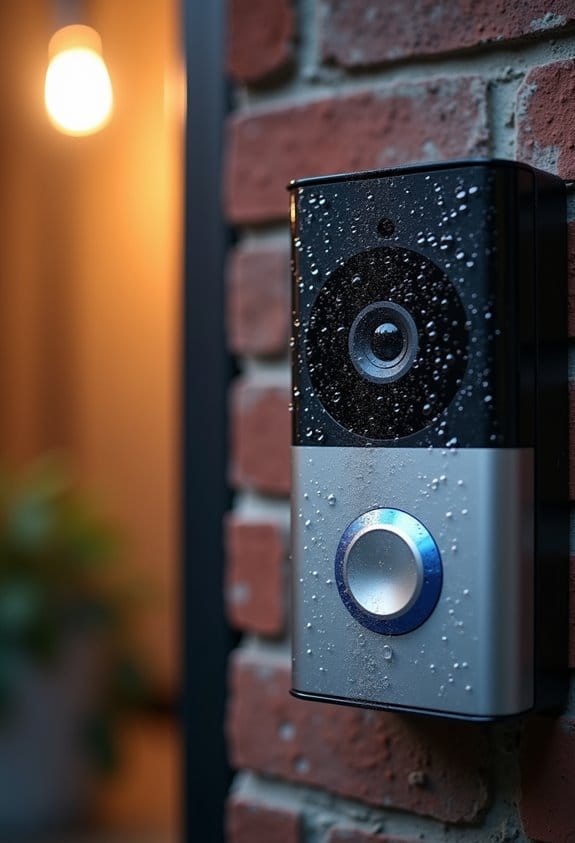
While outdoor cameras are essential for security, they often face the challenge of condensation, particularly during periods of high humidity and temperature fluctuations. This moisture can collect on the warm side of the camera lens, causing blurry footage at night and reducing visibility. To combat condensation, our SCW cameras include silica packets that absorb moisture; we should never remove these for maximum function. If internal fogging persists, it’s advisable to acclimate the camera in a warm, dry environment for up to 72 hours. Regularly monitoring and re-acclimating the camera in its original packaging can effectively address these condensation issues. By taking these precautions, we can guarantee our footage remains clear and effective for security purposes. Additionally, employing cameras with advanced night vision capabilities can further improve visibility when condensation or low light conditions impact image quality.
Adjusting Focus and Settings for Better Video
Guaranteeing clear video quality often revolves around proper focus and settings adjustments. Regularly, we should focus on adjusting our camera settings, especially if we’re using varifocal lenses, to avoid poor focus. Utilizing mobile apps, we can preview our focus adjustments in real-time, enabling precise calibration before we secure the focus ring. Placing our subject one-third into the frame can enhance the camera image clarity. When testing night vision, it’s essential to ascertain the infrared (IR) illumination is aligned properly. We must adjust sensitivity settings based on the environment too. Additionally, recalibrating camera settings quarterly or post-heavy rainfall helps accommodate thermal expansion or alignment shifts, providing tailored solutions for consistent video quality. Incorporating night vision capabilities ensures clear visibility during low-light conditions and enhances overall video performance.
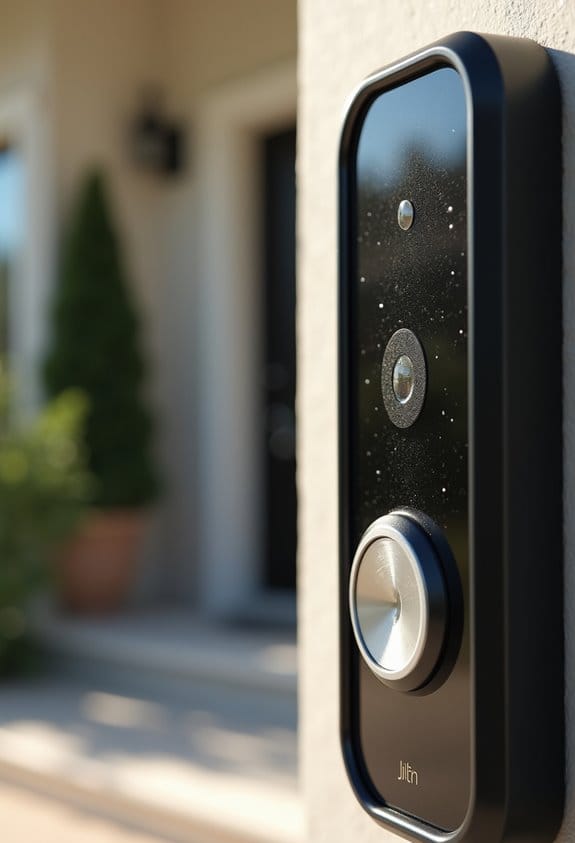
Reducing Glare to Enhance Image Quality
Glare can considerably hinder video clarity, so it’s vital to mitigate its effects on our recordings. To begin, we should position our cameras away from direct light sources. This simple adjustment helps reduce glare that can obscure important details. Using hoods or baffles can further shield the lens from sunlight, which enhances image quality. We can also slightly adjust the camera’s angle to minimize reflections off nearby surfaces, especially during night recording. Employing anti-reflective coatings on our lenses will reduce light scattering, providing sharper images even in challenging lighting conditions. Regular cleaning of the lens is important, as dirt and smudges can worsen glare issues, ensuring that our outdoor security footage remains clear and detailed. Additionally, selecting cameras with effective night vision capabilities ensures clear imagery even in low-light environments where glare might be most problematic.
Why Regular Camera Maintenance Is Essential for Clarity
The clarity of our video footage relies heavily on consistent camera maintenance. Regular maintenance, like quarterly lens cleanings, addresses up to 75% of the blurry footage we encounter. We should inspect gaskets and seals monthly to prevent condensation that could obscure our images. By following structured maintenance routines, we can avoid 82% of potential hardware failures, ensuring our surveillance stays effective. Regular updates of camera firmware fix 73% of image degradation issues, enhancing overall clarity and performance. Additionally, eliminating environmental obstructions and checking focus and zoom settings during these maintenance checks can greatly improve the sharpness of the images captured. Prioritizing these tasks will markedly enhance our footage quality, resulting in clearer surveillance outcomes. Incorporating regular checks of motion detection zones also helps reduce false alarms and maintain alert accuracy.
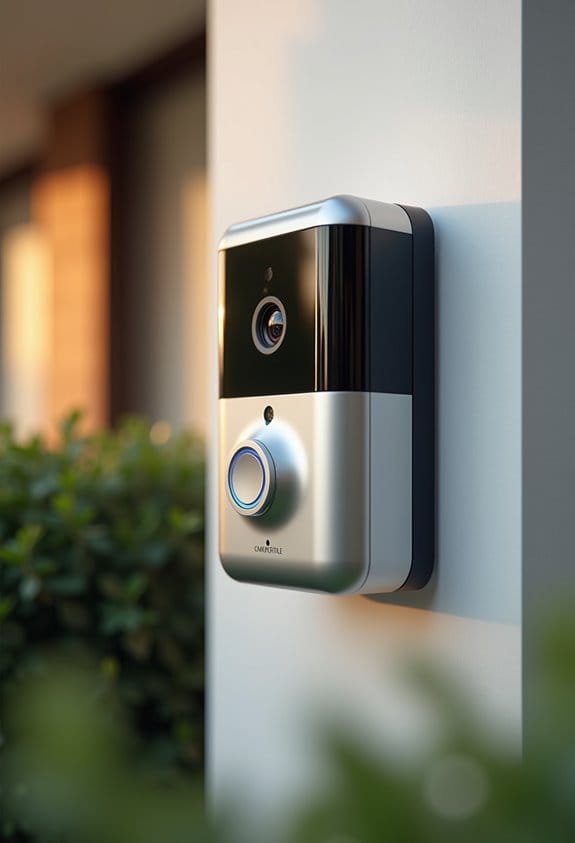
Upgrading Your Security Camera System for Clearer Footage
How can upgrading our security camera system lead to clearer footage? By investing in modern security cameras with advanced sensors and automatic focusing, we can greatly reduce blur caused by outdated optics. Newer systems usually offer higher resolutions—think 1080p or even 4K—along with improved infrared (IR) capabilities for night vision. This upgrade helps guarantee we capture clear footage even in low light. Additionally, these cameras often include AI features that adjust settings dynamically for peak performance without our manual intervention. They also offer better integration with updated software, allowing remote adjustments for consistent video quality. Consulting with manufacturers can guide us in choosing the best systems tailored for specific operational needs, assuring we enhance clarity effectively. Selecting devices with a wide field of view can further reduce blind spots and improve overall video coverage.
Troubleshooting Persistent Blurriness in Video Footage
Although troubleshooting persistent blurriness in video footage can be frustrating, identifying common causes can lead to effective solutions. First, we must check for a dirty lens. Dust and fingerprints can degrade video quality, so we should clean it regularly with a microfiber cloth and lens-safe cleaner. Next, condensation may create foggy images. We need to inspect the camera seals for leaks and mitigate any internal fogging. Additionally, ensuring accurate focus settings is essential, especially with varifocal lenses, as these can require recalibration. Let’s also adjust the white balance using tools like an X-Rite ColorChecker to prevent fuzzy video quality. Finally, glare can impact clarity. Implementing strategic lighting and managing backlight can notably reduce reflections, enhancing overall video quality. Using a doorbell camera with a wide field of view can also help ensure that video footage captures a broader area clearly, reducing the impact of blurry spots due to limited lens coverage.
Frequently Asked Questions
How to Get Rid of Condensation in Camera Lens?
We can tackle condensation in our camera lenses by prioritizing humidity control and temperature management. Proper storage solutions and maintenance tips, like using silica packets, help prevent moisture build-up and guarantee our lenses stay clear.
How to Focus a Blurred Video?
To focus a blurred video, we’ve gotta apply focus techniques like adjusting settings and lens calibration. Manual focus and autofocus tips can help, along with video stabilization for clearer footage in varying conditions.
Can Haze on Lenses Be Removed?
“To keep our lenses clear as a summer’s day, we can use haze removal techniques with lens cleaning solutions. Regular maintenance tips enhance optical clarity, helping our photography equipment perform at its best.”
How to Fix a Dirty Camera Lens?
To fix a dirty camera lens, we should use microfiber cloths and optical wipes for cleaning. Regular camera maintenance and lens protectors are key; let’s prioritize preventative care for ideal performance and clarity during every shoot.


