When our doorbell button fails to register presses, we should first check the button itself for dirt or corrosion. After unscrewing the faceplate, we can inspect the wiring for damage. Next, we must confirm that connections are tight at both button and chime. If the wiring looks fine, we should test the transformer’s voltage with a multimeter, ensuring it’s within 16 to 24 volts. Finally, we’ll diagnose the chime unit for any internal issues. More insights await as we explore this further.
Key Takeaways
- Inspect the doorbell button for dirt or corrosion that may affect its sensitivity and functionality.
- Check wiring connections behind the button for looseness, damage, or corrosion disrupting electrical flow.
- Use a multimeter to test the button for continuity; a non-responsive button may need replacement.
- Ensure the transformer is outputting 16 to 24 volts by checking its voltage with a multimeter.
- Examine the chime unit for secure connections and internal malfunctions if the button appears functional.
Common Issues in Doorbell Troubleshooting
When a doorbell button doesn’t register presses, understanding the common issues can help us troubleshoot effectively. A faulty doorbell may stem from dirt or corrosion affecting contact sensitivity. We should check for loose connections and frayed wiring, as these can disrupt the electrical flow, leading to non-responsiveness. It’s wise to use a multimeter to test the doorbell button, helping us determine if it’s the issue. If both old and new buttons don’t work, there may be problems within the chime or transformer, possibly requiring us to replace the transformer. Additionally, regular cleaning and tightening of connections are essential, along with inspecting for any visible damage. Addressing these common doorbell issues can return our button functionality. It’s also important to verify that your transformer’s voltage compatibility matches your doorbell specifications to ensure proper operation.
How to Inspect Your Doorbell Button
Inspecting a doorbell button is a straightforward process that can help us identify specific issues affecting its performance. First, we should unscrew the faceplate and gently pull the button from the wall to access the wiring. Next, let’s inspect the wiring for any signs of corrosion, damage, or loose connections, as these can lead to malfunctioning. While the button is exposed, press it to see if it clicks; if it doesn’t activate the chime, it may need replacing. If there’s no response, we can use a multimeter to test for continuity to confirm functionality. If we decide to replace the button, make certain it matches the voltage requirements of our doorbell system for peak performance. Also, verifying the compatibility with the doorbell transformer ensures optimal working conditions and prevents electrical issues.
Checking Wiring and Connections
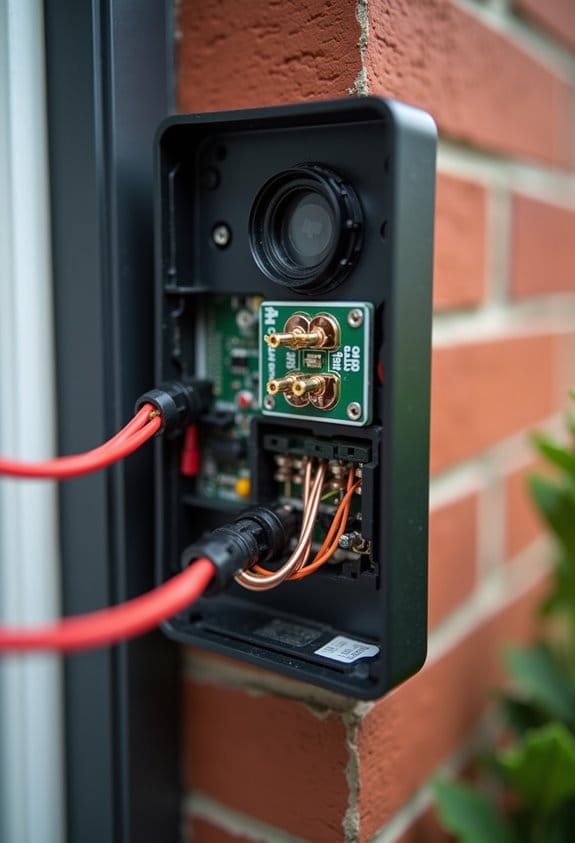
After checking the doorbell button itself, moving on to the wiring and connections is necessary. We need to inspect all wiring between the doorbell button and the chime. Look for signs of looseness, corrosion, or damaged wires. Confirm the terminals at both the button and chime are tightly secured; loose connections can lead to failures in button registration. If we find fraying on the wiring, this can disrupt the electrical flow needed to activate the chime. Using a multimeter, we can test the voltage at the chime when the button is pressed. If corrosion is present on the terminals or wiring, cleaning those contact points will improve the connection and responsiveness of the doorbell button. It is also important to ensure that the doorbell transformer provides the correct voltage and current rating to avoid any issues with button registration and chime activation.
How to Check Your Transformer’s Voltage
To guarantee your doorbell system is receiving the correct voltage, testing the transformer is essential. First, we should turn off the power to the transformer at the breaker box for safety. Next, using a multimeter set to the AC voltage setting, we can measure the output. Most doorbell systems need a voltage between 16 to 24 volts; if our reading falls outside this range, we may have an issue. While examining the transformer, let’s check the connections for any corrosion or damage, as this can hinder functionality. Finally, we should consult the transformer’s specifications in its documentation to verify it meets our doorbell system’s requirements for proper operation. This methodical approach will help us identify and address any voltage-related problems. Ensuring the transformer has auto-resetting PTC fuses can also prevent damage due to overheating or short circuits, enhancing the safety and reliability of your doorbell system.
Diagnosing and Repairing the Chime Unit
Once we’ve verified the transformer is functioning properly, our next step is to diagnose any issues with the chime unit. First, we should check all wiring connections for security and corrosion, as loose or damaged wires can disrupt performance. Next, using a multimeter, we’ll test the voltage at the chime box when the button is pressed; it should measure between 16 to 24 volts. If the chime produces no sound despite proper connections, internal malfunctions may be to blame. Cleaning out dust and debris inside the chime is essential for peak sound production. If these steps don’t resolve the issue, we should consider replacements that are compatible with the existing unit to guarantee continued performance and reliability. Additionally, ensuring the doorbell system has weather resistance can prevent future performance disruptions caused by environmental factors.
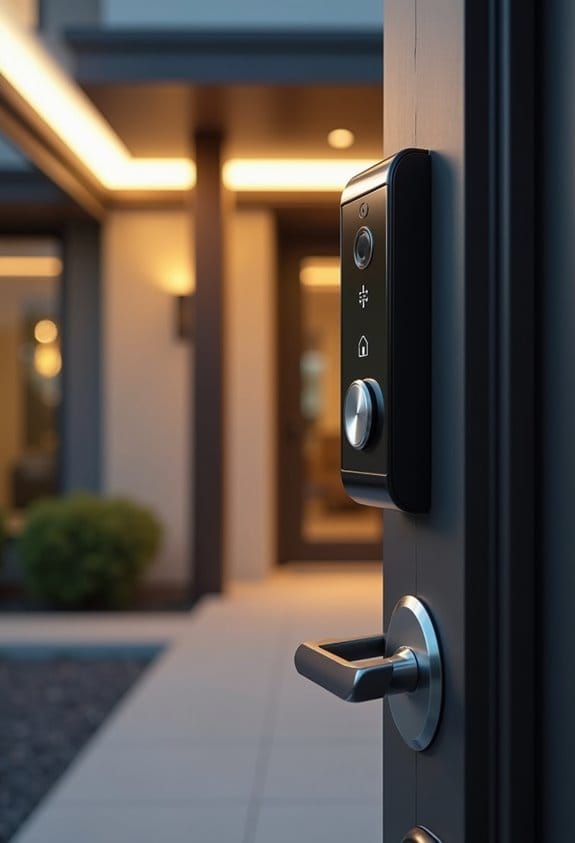
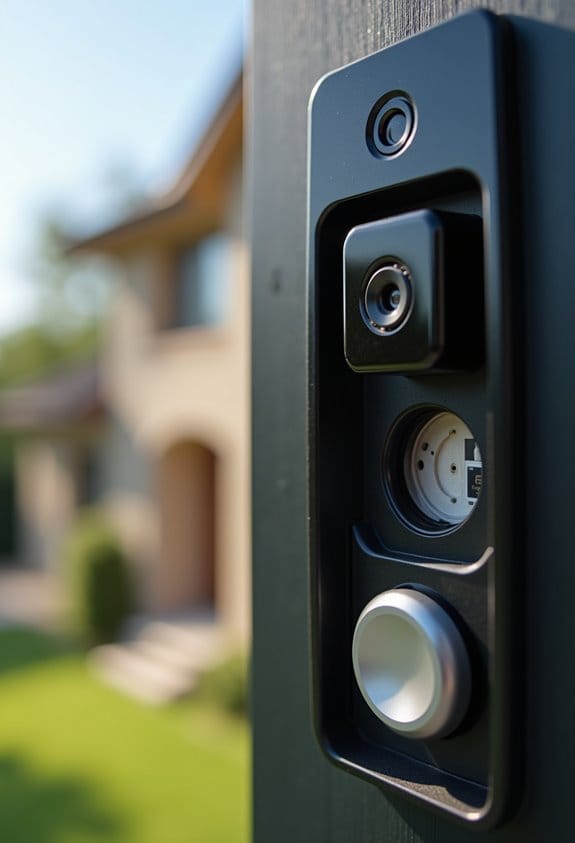
When to Consider Replacing Your Doorbell System
When your doorbell button requires prolonged pressure to register a press, it might signal that it’s time to deliberate replacing the entire doorbell system. We should consider several common reasons for this need. If we regularly experience a malfunctioning doorbell or inconsistent performance, it’s a strong indicator. Systems lacking features like video monitoring or smart doorbell capabilities may also warrant replacement. Additionally, if our doorbell is several years old, poor sound quality or failing components become significant issues. Compatibility issues with newer smart home devices can impede efficiency and integration. By investing in a new doorbell system, we can enhance security, enjoy built-in cameras, and improve communication with two-way audio, making our homes safer and smarter. Many modern doorbells also come with weather-resistant design to ensure reliable performance in all conditions.
Frequently Asked Questions
Why Is My Doorbell Push Button Not Working?
If our doorbell push button isn’t working, we need to evaluate doorbell troubleshooting tips, check common wiring issues, and verify power sources. We should also follow our battery replacement guide and inspect for compatibility concerns explained.
How Do I Know if My Doorbell Button Is Bad?
We can tell if our doorbell button’s bad by checking for wear, testing continuity, and inspecting wiring. Just like in guitar maintenance tips or troubleshooting electronics, understanding these basics guarantees our home security systems work effectively.
How to Test if a Doorbell Chime Is Bad?
To test if a doorbell chime is bad, we should follow doorbell troubleshooting tips, check wiring connections, inspect the transformer, and listen for sounds. If not working, replacing the chime unit may be necessary.
Why Is My Ring Doorbell Not Responding to the Button Press?
Our Ring doorbell might not respond due to wiring issues, low battery, or button debris. Let’s check device compatibility, power supply, firmware updates, chime settings, and possible weather damage as troubleshooting tips to resolve this.


